Demo mode
Try the console on one computer, with demo servers as Docker containers: start, stop and reset a demo, connect, and convert it to production.
A demo runs the console and its database servers as Docker containers on one computer.
Requirements
- Linux or macOS, with Docker and Docker Compose v2, as the
docker composeplugin or the standalonedocker-compose. On a Mac, start OrbStack or Docker Desktop first. - At least 4 CPUs and 8 GB of Docker memory. See Demo memory.
- Internet access from Docker containers for the first start.
- Free ports
8443and8080. - A free network range for the demo servers. The installer selects the first range that no
other Docker network and no route of this computer (for example a LAN or a VPN) uses, and
writes it to
~/tse/.envasTSE_DEMO_SUBNET. Without that line, the range is172.29.0.0/24. To see the range, rundocker network inspect tse-demo-servers. The virtual IP of an HA service must be in the upper half of the range, for example172.29.0.200in172.29.0.0/24.
Start a demo
Run:
curl -fsSL https://enterprise.tigerdata.com/install/timescale-enterprise.sh | sh -s -- --demoOr run the installer without options and select Try a demo on this computer (not for
production) (the default on a Mac). Type y to accept the warning. The first start takes
about a minute more.
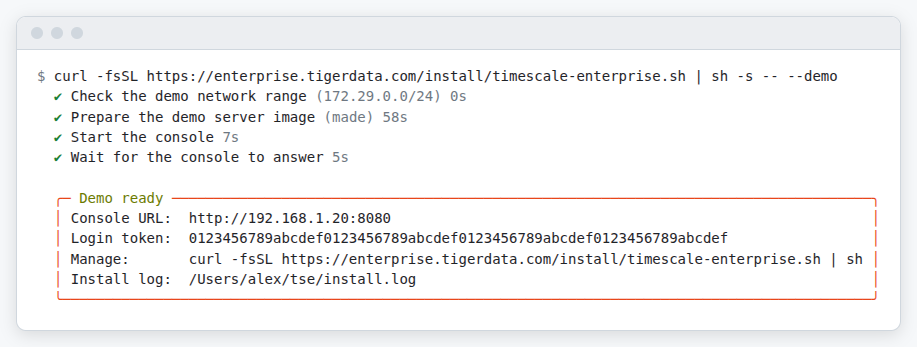
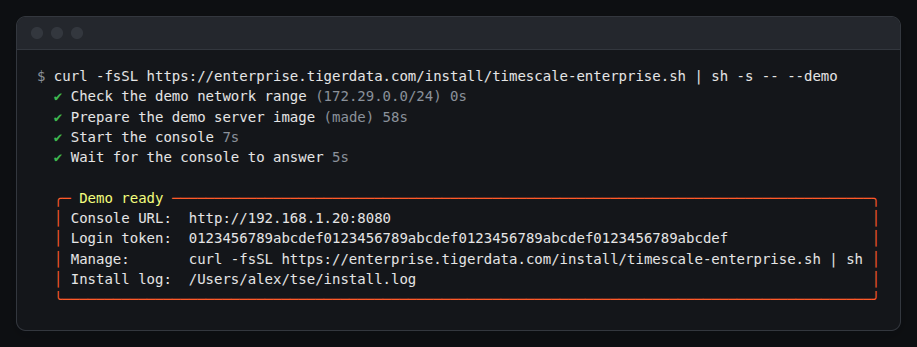
Open the Console URL of the box and log in with the token. The console has a self-signed
certificate: accept the warning of the browser. The URL has the IP address of the computer on
its network, so it works also from Docker containers and from other computers. Without a
network, it is https://localhost:8443, which always works in a browser on the computer that
runs the demo. To see the URL and the token again, run the Manage command. The demo files
are in ~/tse.
Licensing applies as in production: start a trial or add a license.
When a demo is installed, the same command shows the demo menu (see Stop, start, reset and upgrade).
Add demo servers
A demo server takes the place of a real server. The console starts it for you as a container and enrolls it, as a real server enrolls with the enroll command. You do not run a command.
Open Register new server
Open Infrastructure → Servers, and select Register new server.
Name the server
Optional: enter a name.
Add the server
Select Add server.
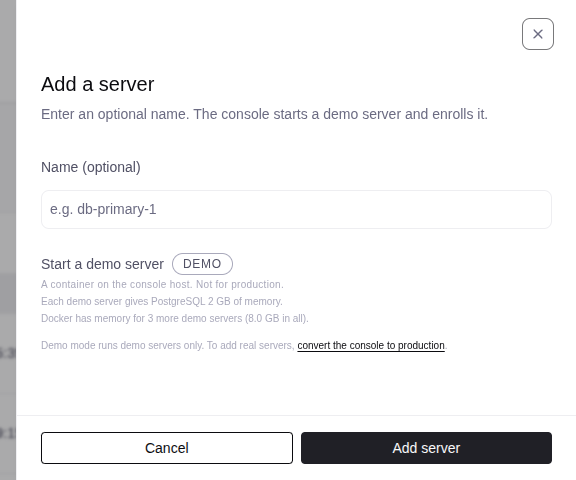
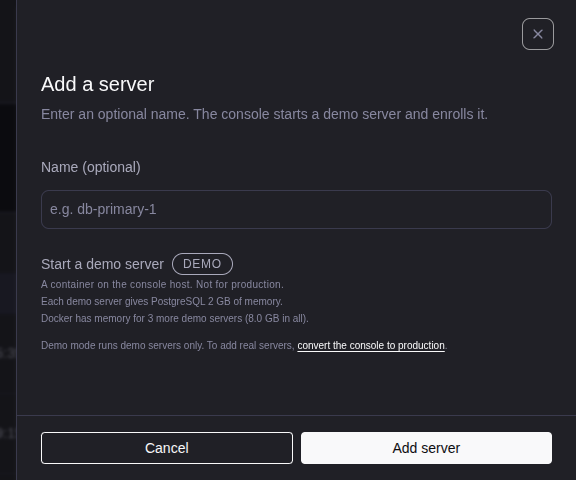
A demo console accepts demo servers only. To add real servers, convert the demo to production.
Demo memory
The console needs about 2 GiB of Docker memory, and each demo server about 1.25 GiB. 8 GB holds the console and 4 demo servers. Stopped demo servers count. When there is no room, the console does not start a demo server.
To change the limit, open Settings → Resources in Docker Desktop, or Settings → System in OrbStack.
Connect to a database service
Open the database service and select Connection info. In a demo, the recommended endpoint goes through the computer that runs the demo, on a port from 15432 to 15531. Its host is the host of the console URL in your browser. A client that reaches the console at an address reaches the databases at the same address.
Connect Ignition
The Ignition Enterprise Historian asks for the console URL and the login token. Then it shows
the database services and selects an endpoint of each that works from outside Docker. Give it
the Historian URL of the Demo ready box, for example http://192.168.1.20:8080. The
historian does not trust the self-signed certificate of the Console URL, so it uses plain
HTTP on port 8080. On this port, the login token is not encrypted on the network. It works
when Ignition runs on the computer that runs the demo, in a Docker container, or on another
computer. Do not use localhost for Ignition in a container: there, localhost is the
container itself.
The IP address of the computer changes when it goes to a different network. Then run the Manage command to see the new IP address, and change the console URL in the historian.
For a console that is not a demo, see Ignition and the self-signed certificate.
Stop, start, reset and upgrade
Run the Manage command and select the action in the menu, or add the option:
curl -fsSL https://enterprise.tigerdata.com/install/timescale-enterprise.sh | sh -s -- --demo stop.
| Option | Result |
|---|---|
--demo stop |
Stops the demo. The data stays. |
--demo |
On a terminal, shows the demo menu, as a run with no options does. Without a terminal (for example in a script), starts a stopped demo, or upgrades it to the newest release. |
--demo reset |
Deletes all demo servers and data, and makes a new demo. The login token stays. |
When the installer is newer than the demo, the menu has two ways to start the demo:
| Choice | Result |
|---|---|
Start and upgrade to <new> (default) |
Upgrades the demo to the installer’s release, and starts it. |
Start (keep <current>) |
Starts the demo on its current release. The installer does not change the demo’s files and does not download an image. |
For a running demo, the choices are Restart and upgrade to <new> and Restart (keep
<current>). Only the curl ... | sh installer and a downloaded timescale-enterprise.sh
show the keep choices. A bundle already holds the files of its release, so its installer only
upgrades.
An older demo uses HTTP on port 8080. An upgrade moves the console to HTTPS on port 8443:
open the new Console URL. The Ignition Enterprise Historian keeps its URL on port 8080.
Start (keep <current>) keeps HTTP on port 8080.
A demo that runs starts again after a restart of the computer or of Docker.
Remove a demo
Select Uninstall in the menu, or use the option --uninstall. Type uninstall to
confirm. On Linux, answer r first.
Convert a demo to production
On Linux only: select Convert to a production console in the menu, or run --uninstall
and answer c.
- The console keeps its users, settings, alerts and license, and the days left of a trial.
- The installer deletes all demo servers, with their database services and backups.
- The console moves to
/opt/tse. This needs root orsudo. - The installer asks the questions of a production install.
- If the convert stops, run the installer again.
The installer does not convert if the host already has a production console.