Users and roles
Log in, give each user a role, give access to single services, set up two-factor authentication, and read and export the audit log.
Ways to log in
| Login | Who | Role |
|---|---|---|
| Local user | A username and a password that an admin creates | An admin sets it |
| SSO (OIDC) | A user of your identity provider | From the groups of the user (see Single sign-on) |
| Admin token | A person who has TSE_AUTH_TOKEN from .env |
Always admin |
All three work at the same time. A session lasts 24 hours.
Roles
Each role can do all that a lower role can do.
| Role | Can do |
|---|---|
| Viewer | See database services, servers, DCS clusters, backups, health, metrics, operations and their output, alerts and licenses. |
| Operator | Read the server logs and the LiveSync log. Trigger backups. Switchover, failover, restart and rolling restart. Deploy and redeploy a service, and apply its backup and exporter configuration. Mute alerts. Emergency space. Start and stop LiveSync. Refresh server specs, Test server and check config drift. Restart PostgreSQL for pending settings. Download and rescan server packages. Check for updates. Support reports. |
| Admin | All other operations, for example: create, change and delete database services, servers, DCS clusters and LiveSync sessions. Replace and rebuild a server, restore, change the VIP. Licenses. Alert rules and destinations. The pages of Administration. The SQL browser. Enrollment commands. Users and the audit log. |
- Viewers and operators do not see the database password.
- No role sees the LiveSync connection strings, the alert webhook URLs or the SMTP password.
- When your role cannot do an action, the console shows
Your role (viewer) cannot do this. Ask an admin.The API reference shows the role of each operation.
Service access
An admin can give a user a role on one database service. This is a grant: Viewer or Operator, never admin.
- On that service, the user has the higher of the default role and the
grant. Example: a viewer with an operator grant on
orderscan restartorders. - The alert settings of the service (Monitoring → Alert settings) use the role on the service. A change of the routing needs the admin role.
- Everywhere else, the default role applies.
- A grant change applies at once, also to open sessions.
The role none
A user with the default role None sees only the services of the grants:
- The top bar shows only Database services, LiveSync, Operations and Alerts.
- A LiveSync session between two managed services needs a grant on both.
- A local user with no grants can log in, but sees no service. An SSO user with the role none can log in only with a grant.
Give a grant
Open Users & roles
Open Administration → Users & roles.
Open Service access
In the row of the user, click the value in the Service access column.
Add the grant
Select a service and a role, and click Add grant.
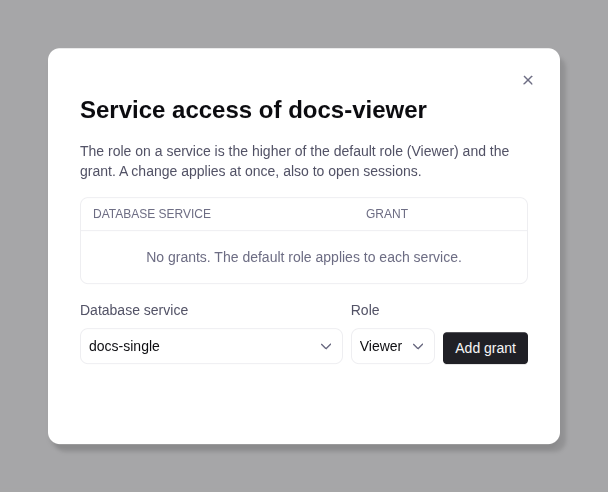
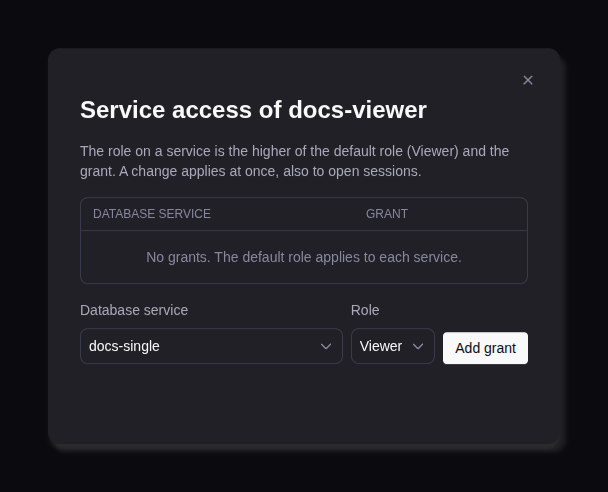
You can also manage grants on the page of a service: Database service admin tab, Service access. A delete of a user or a service deletes its grants.
The first admin
A new console has no users. The login page opens on Admin token.
Log in with the token
Log in with TSE_AUTH_TOKEN from .env in the install directory.
Open Create user
In the Get started checklist, click Create your admin user. Or open Administration → Users & roles and click Create user.
Create the user
Enter a username, a role and an initial password, and click Create user.
Log in as the new admin
Log out, and log in with the new user. At the first login, the user must set a new password.
Local users
- Password: 12 to 256 characters, not the same as the username.
- Failed logins: after 5 failed logins for one username, the console refuses that username for 15 minutes. After 20 failed logins from one address, it refuses that address for 15 minutes. A successful login or a console restart resets the count.
Manage users
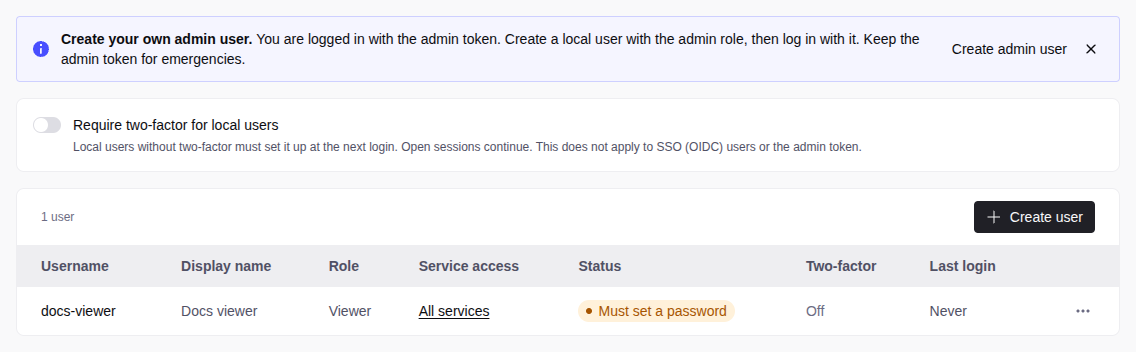
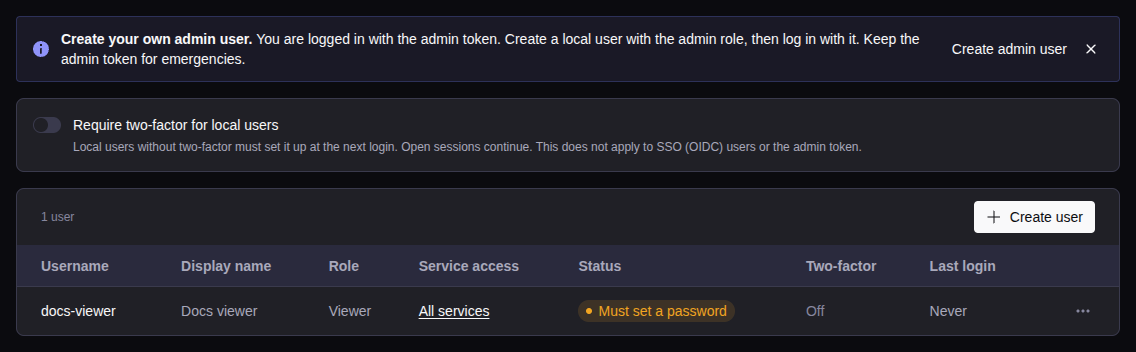
On Administration → Users & roles, the actions menu of a user has:
- Change role…: None, Viewer, Operator or Admin;
- Service access… (see Give a grant);
- Disable and Enable;
- Reset password: the user must change it at the next login;
- Reset two-factor (see Lost authenticator app);
- Delete.
A role change, a disable, a password reset, a two-factor reset and a delete end the open sessions of the user. You cannot disable or delete your own account, or lower your own role.
To turn off the password login of local users, see Turn off local login.
Change your own password
Open Change password
In the account menu of the top bar, click Change password.
Enter the passwords
Enter the current password and the new password.
Your other sessions end.
SSO users
The first SSO login of a person adds a user with an SSO badge.
- The username is the email.
- The role comes from the groups (see Single sign-on) and shows Set by the identity provider. You cannot change it in the console.
- The identity provider manages the password and the second factor.
An admin can give service access, disable, enable and delete an SSO user. A user that the console refused stays in the list, so you can add a grant before the next login.
Two-factor authentication
A local user can add a 6-digit code from an authenticator app (TOTP). SSO users and the admin token do not use it.
Set up two-factor
Open Set up two-factor
In the account menu of the top bar, click Set up two-factor.
Scan the QR code
Click Set up the app. Scan the QR code, or enter the key.
Enter the code
Enter the 6-digit code from the app, and click Turn on two-factor.
Save the recovery codes
Save the 10 recovery codes with Copy or Download. Select I saved my recovery codes and click Continue.
The console shows the key and the recovery codes one time only.
Log in with two-factor
Enter your password
Enter your username and password.
Enter the code
Enter the code from the app. Without the app, click Use a recovery code and enter a recovery code.
- Each recovery code works one time.
- You have 5 minutes after the password to enter the code.
- A wrong code counts as a failed login.
Recovery codes
To get new codes, click New recovery codes in the account menu and enter a code from the app. The old codes stop working.
Turn off two-factor
Click Turn off two-factor in the account menu. Enter your password and a code from the app. You cannot turn it off while an admin requires two-factor.
Lost authenticator app
If you lost the app and the recovery codes:
Ask for a reset
Ask an admin to click Reset two-factor for your user on Administration → Users & roles. An admin cannot reset their own two-factor: ask another admin, or use the admin token.
Set up two-factor again
Log in with your password and set up two-factor again.
Require two-factor for local users
On Administration → Users & roles, turn on Require two-factor for local users. Each local user without two-factor must set it up at the next login. Open sessions continue. To apply the setting at once, reset the password of the user.
The admin token
Use the admin token only when no admin can log in. It works also when local
login is off. Keep it secret. To change it, set TSE_AUTH_TOKEN in .env and
apply it (see Configuration). All sessions then end.
Audit log
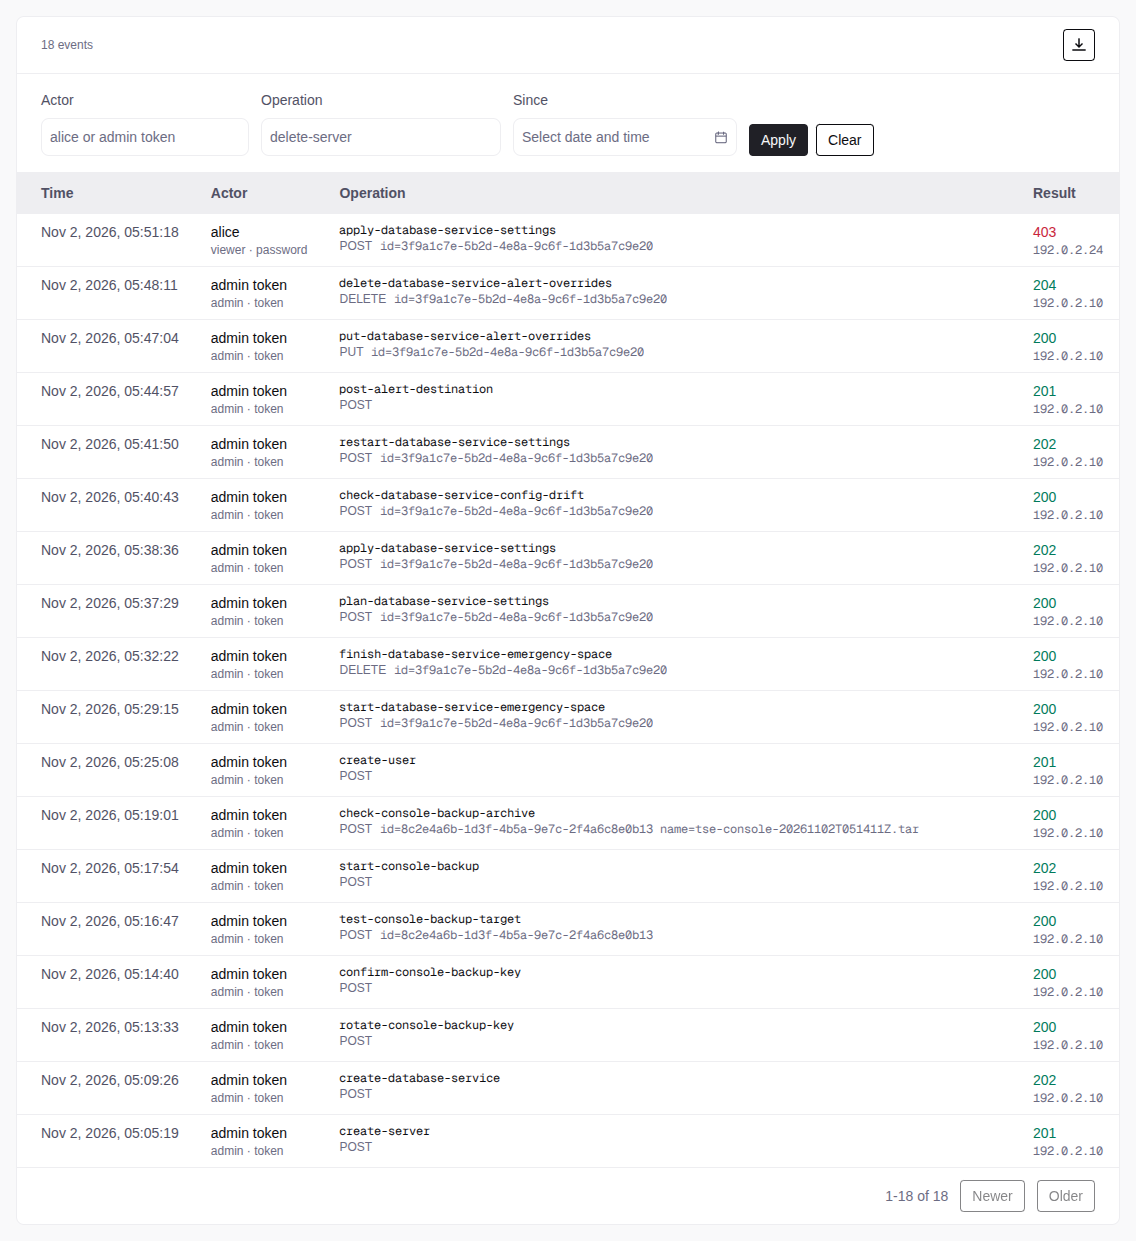
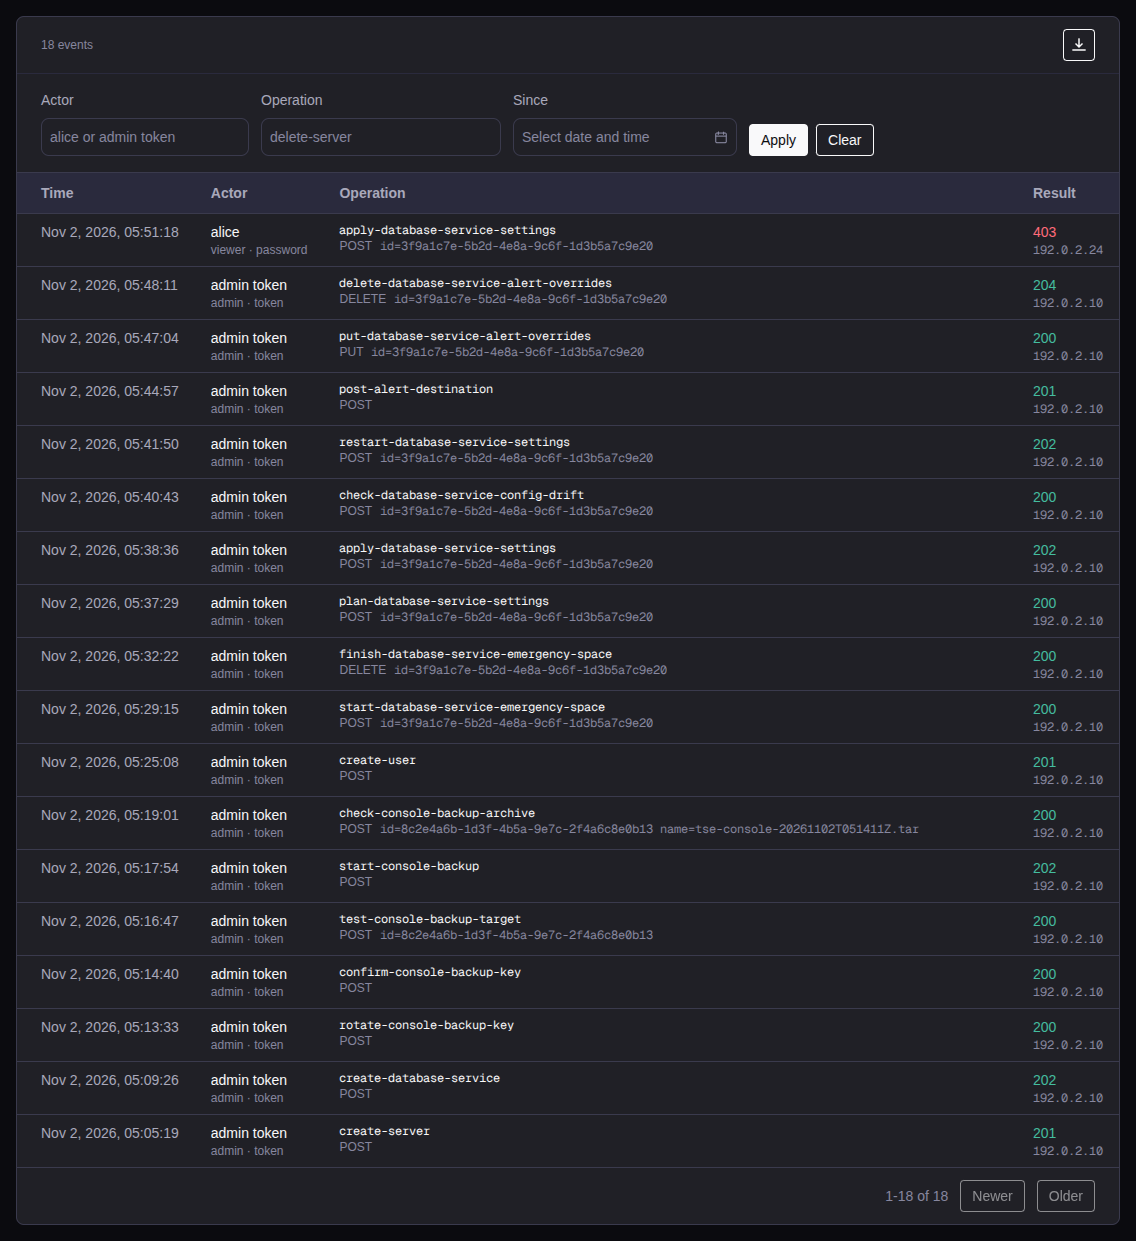
Admins see the audit log on Administration → Audit log. The console adds a row for:
- each change request (each API method other than
GET), also a refused one; - each login, good or failed;
- each two-factor action.
Each row has the time, the actor, the role, the login method, the operation, the request, the status and the client address. A refused request also has the error text. For an SSO user, the actor is the email.
The audit log stores no request or response bodies. The console replaces
passwords, tokens, secrets and keys with REDACTED. Exception: the row of
each SQL browser query has the first 4 KB of the
SQL text, which can hold a secret (for example ALTER ROLE ... PASSWORD).
Click a row to see all its fields, with Copy JSON and Download JSON. The console deletes a row after 180 days.
Export the audit log
To keep rows for more than 180 days, export them:
Open the audit log
Open Administration → Audit log.
Apply the filters
Set the filters and select Apply. The export uses only applied filters.
Export the rows
Click Export, then CSV, JSON or JSON Lines.
The file has all rows that match, oldest first, with UTC times. For a SIEM, use
JSON Lines (.jsonl, one event on each line).
/api/v1/audit-events/exporttse_sessionAPI key · cookierequiredformatstringrequiredcsv: a header row, then one row for each event. A value that starts with =, +, -, @, tab or carriage return gets a ' before it, so that a spreadsheet does not read it as a formula. json: one JSON array, with one object for each event and the values as stored. jsonl: JSON Lines, one object on each line, with the values as stored
csvjsonjsonlactorstringOnly the rows of this actor (without regard to case)
operationstringOnly the rows of this operation ID
sincestring<date-time>Only the rows at or after this time
untilstring<date-time>Only the rows before this time
OK
Error
codestringStable code of the refusal, when the route has codes
detailsstring[]Additional detail, e.g. per-field validation failures
errorstringrequiredHuman-readable error message